Showing posts with label Quilting Classes. Show all posts

Tuesday, March 21, 2017

All the Mystery Row-by-Rows

As promised, here they are, some with added borders and some without: (as you can tell, I'm the only one that wimped out when it came to the second row of applique!)


The quilt below belongs to Catherine. She won the raffle and I will be quilting her quilt. Sorry the pic is a tad blurry--when its done, I'll have better ones.


I just love all the different fabric choices!!

Dory

Monday, December 12, 2016

From Practice to Quilt

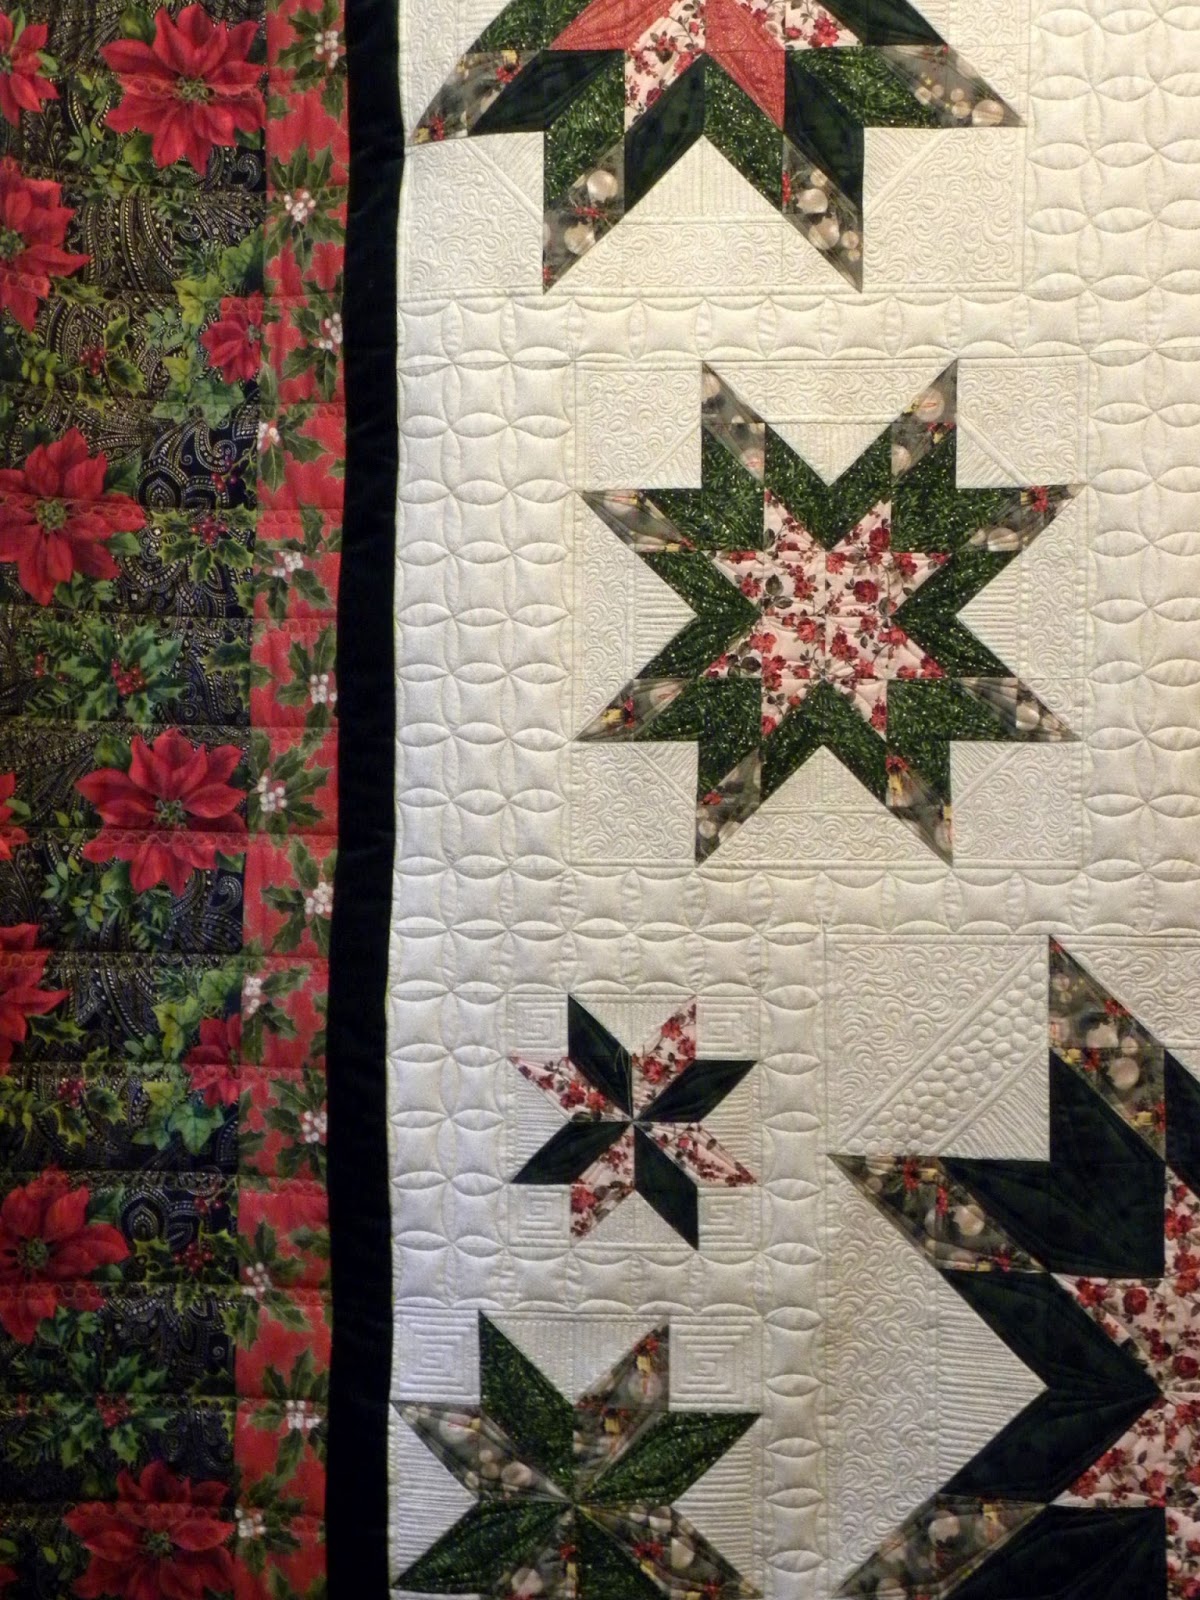
After taking Kathleen's class, I knew what I was going to do with Carolyn's quilt. Prior to that, I was stumped!!


I'm not sure why the fabric looks so pink...its actually a beautiful red on the back.


Kathleen taught us to look for patterns made by the piecing as well as areas to highlight. The stars had to be highlighted, so I framed them with very dense quilting.


Here are closeups of a few more.


In this last one, you can also see the border.  I did a wide bead board with pebbles between the "boards" in gold thread. Military Gold by Glide is my favorite "go to" gold thread.


A couple more shots of the back. I wish the fabric color had photographed more true. It probably would have if I knew what I was doing--I just point and shoot!! I'm a quilter, not a photographer, in case you hadn't noticed!!! 


Thanks for looking!

Dory

Monday, December 5, 2016

I've Been Practiciing


A few weeks ago I went to Victoria with another longarm quilter to take a class with Kathleen of Kathleen Quilts!

Kathleen is amazing and a terrific teacher! The class was for domestic machine quilters, but she was nice enough to let us take it with only our sketchbooks. The best part of this was that while others were sewing, we were getting more options for the designs. It was a great day and a great class.

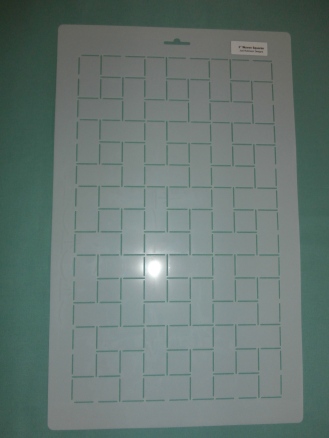
Kathleen showed us quilting done with these two great stencils by Jodi Robinson--which I immediately had to have! This one has so many options with these circles.

OLYMPUS DIGITAL CAMERA

And this one--the design potential is just unlimited!

OLYMPUS DIGITAL CAMERA

This is what my top looked like with after marking with the above stencil.  I had to put directional lines and "x"s in the blocks so I could keep track of where to sew!!


If you'd like to purchase the stencils, or any of the other wonderful aids on Jodi's site, click HERE

This is my finished sample. As you can see, I must have gotten a little too involved listening to "Outlander" while I was quilting.  Can you spot my mistakes????


Remember, if you click on the pic, you get a larger view.

Dory

Thursday, September 5, 2013

I Made a Basket!

Yep....I made a basket from clothesline cord. One thing really cool about living in Washington is the variety of teachers that visit our guild.  Ami Simms was here so I took advantage of that and made this beautiful lime green basket. (Okay, maybe its not "beautiful," but I like it!)


The basket was basically started and finished in one day! You begin with clothesline cord that you unwrap so that it will go smoothly, without twists.


You then cut whatever fabric you're using on the bias, run a bead of glue along the cord and begin wrapping. At the end of each strip you overlap a bit and tuck it in, but it doesn't have to be perfect. This is how it looks as you start wrapping. Ami has this new cool tool (of course, I had to have one) that allows you to wrap the cord more easily. Its called a "powerwrapper." Click HERE to see it in action.


As you begin to sew, using a zig-zag stitch, the base of the basket grows and grows

  
When the base is as big as you want it, you start turning it to create the sides: 


and wala...you have a basket!!

One of the very best things about Ami is her sense of humor. She had us in hysterics when she lectured at the guild. She's a great person--take a class from her if you get the chance. You won't be sorry!

Saturday, February 23, 2013

Empty Spools 2013

I am so fortunate to be going to Empty Spools again this year! I leave next Wednesday on the travel adventure--car, ferry, train, plane, car--and that's just to get there.  This time, Cindy and I are taking a class from Judy Niemeyer. I love her quilts and feel so privileged to learn from the lady, herself.

However, now that I've chosen my pattern (Agave Garden), choosing fabric/color has been a chore. I don't want my quilt to look exactly like hers, so I've tried to shake things up a bit. Honestly, give me a kit for this one--I'm making myself crazy.


I studied the pattern for a long time trying to determine how she'd done her color placement and then I imitated that. I'm still not sure about what I've chosen and even though some of my colors are different, I just noticed that I'm still going with the basic yellow/red/orange combo in the middle. Oh well...


More pics to follow as I get things cut out.


Thursday, January 31, 2013

Jamie Wallen -- Quilter Extraordinaire

I was looking at Facebook the other day and saw Jamie on a ferry. From the background, I was sure it was a Seattle ferry--but Jamie lives Michigan or Indiana or somewhere far from here. After getting a reply, I found out that he was going to be on Bainbridge teaching his Thread Fusion class on Thursday and Friday. I signed up!!


Today was the first day of class. Six hours of design drawing later, my brain is tired. I'm so excited to try out the many new designs he showed. Watching him draw them out and then doing it myself makes the learning process so much more efficient.

Best of all...I get to go back tomorrow for another day of learning and fun.  If you ever get a chance, take one of Jamie's classes. He has a wealth of information and he's always willing to share.

Wednesday, January 9, 2013

Mystery Quilting Project Finished!

I did it!! I finished this a few days ago; of course, there's no binding, but that doesn't really count, right??
Cindy Roth, Longarm University, does a mystery quilting class on New Year's Day. This is the first time I've ever had mine pieced and ready to go. Well, I was a bit late, but I still got started on it on New Year's Day. I was very interested to see the techniques she'd use for quilting an art quilt. I've never made one, nor have I ever quilted one.  Granted, this wasn't the most involved art quilt, but for a first time effort, I think it turned out okay. 

The house was one of my favorite parts to quilt. Getting to the house took awhile, as we quilted the border, the interior of the stars and the sky first. I love how it turned out. 

I've quilted trees before, but never like this. Here's a pic of the back to really show how the quilting went. It was almost like thread painting...well, almost!


I loved the effect of the hilly terrain and the tufts of grass; what I didn't love was my thread choice. I think I should have chosen a more subtle color. We actually used two colors of thread in this area. I chose a variegated Lava (Superior) green and a variegated Lava gold. I think the gold should have been darker.


The last step of the quilting was embellishing. I couched (for the first time ever) yarn to the "terrain" in the grassy area. It gives it some depth I liked that effect. Then we couched white fluffy yarn to the trees and house to look like snow. It works, if you really squint. Finally we added the rays coming off the stars and the smoke coming from the chimney.

All in all a fun project that I'm glad I did. Here's a final pic of the entire back:


This was fun! I hope to participate again next year. I've already incorporated bits of the border quilting into the customer quilt that's on my frame now.


Wednesday, January 2, 2013

Too Much Positive Thinking...

Did you ever think there could be such a thing? My older sister, Barbara, calls me Pollyanna because I always tend to look on the bright side. Did you ever see the movie? Its worth watching even though it was made in 1960 and based on a book written in 1913.


Anyway, because I am such an optimist, I had my fabrics cut for Planet Patchwork's mystery and I was busily working on my top for Longarm University's mystery. I had planned to work on my piecing in between quilting the different bits of the quilt. However, since I didn't finish my top until almost 10 a.m. (this was after getting up in the middle of the night and working on it from 2:00 to 4:30 a.m. and then starting again at 7), this didn't even come close to happening.  I was so far behind with my quilting, I never even looked at the Planet Patchwork website.

Of course, had I paid more attention to the instructions, things may have gone a bit faster *shrug*

These are some of the pieces, stars, trees and a cabin...


This is what the top looked like when I'd finished it. That border was rather fiddly, but I finally got it to work properly.
Alas, the top is still on the frame, but here's a sneak peak of what some of the "mystery" quilting looks like so far.

I downloaded the directions from Planet Patchwork's mystery and plan to start working on it soon. Its still a mystery for me since I haven't seen the finished top.


Thursday, December 27, 2012

New Year's Plans

What do you have planned for New Year's Day?? Will any of you be doing the Mystery Class put on by Cindy Roth of Longarm University or piecing the mystery quilt from Planet Patchwork? I'm planning to do both...at least, that's the plan for now. *fingers crossed* 

Every year, Cindy does a quilting mystery. You piece the pattern according to the instructions that you're given when you sign up. Starting New Year's Day morning, she posts quilting designs for each section of the pieced quilt. Its fun to try new things and it makes for a great sample to show your customers. This year's quilt is a cute little "Cabin in the Woods" artsy quilt. The instructions to piece this were very easy to follow. This is the class example, I'll post mine after its quilted.


Planet Patchwork is doing a "modern" mystery on New Year's Day. I have my fabrics chosen and ready to go. I really want to finish this one because I'm dying to quilt a modern quilt!

Let me know if you're doing either of these. It would be fun to check-in with each other as the day goes on.


Friday, August 17, 2012

Quilting Negative Space

I had no idea what that even meant until I took an online class at Craftsy with Angela Walters.  Negative space equals space with nothing in it.  Makes sense now.  The class involved drawing and watching Angela quilt some awesome designs and share some really creative ideas.

As you've probably figured out by now, Marei tends to give me quilts that are a challenge. (I often think she lies in bed at night dreaming up patterns that push my quilting boundaries!) This one was no exception. She left some odd shaped "negative" space in the borders that she said was "just for me."


So...after Angela's class, I knew what to do. I "dwirled" the body. There was so much going on that all it needed was some texture. I have the most beautiful orange thread that worked great for this.


Then, ala Angela, I filled the negative spaces. I used her swirl fill and created a few blocks that imitated the blocks in the quilt. What do you think??


Without Angela's class, I never would have come up with this idea. Now I can't wait to try it even more!!

Thanks for stopping by!

Dory