Wednesday, December 30, 2020

Mary's Ponce de Leon Design

 I'm not sure I can do the explanation of this quilt justice--I quilted it back in May. (I know...I should do better keeping up with my blog!) As I recall, there is a park in Florida that Mary used as the inspiration for this one.


If I'm remembering correctly, there is a fountain in the center of the park--that's what the center of the quilt represents. The quilting consisted of lots of linework as well as some different fills, like Ribbon Candy and Basket Weave.


And, finally, the back. Mary used a neutral gray for most, but she also put a strip in using the leftover fabric from the front. (Clever way to use the scraps--wish I'd remember that!) The quilting shows up nicely in the background, making it easier to see what was done by the center fountain and surrounding areas. 


Thanks for looking!

Dory


Wednesday, December 23, 2020

Linda's Whirly Jig

 I love doing quilts for Linda. I don't often get the chance to--Linda has her own longarm. This time her longarm was otherwise occupied, so I got to play. I love how this quilt is traditional and modern at the same time. 


When I quilted this one, I gave Linda several design choices. She opted for more modern quilting. Below are pics of the individual designs in the blocks.


And then when you put them together, you get this...


The borders were fun too. I love this treatment where part of the border stands out.


And what post is complete without shots of the back??


If you've seen my business cards, you've probably noticed the quote that says "Always smoke free; mostly pet free." This is the reason for the "mostly" part. Dash had to be in the pic--he knows Linda is one of his biggest fans!


Thanks for looking!!

Dory

Saturday, December 19, 2020

Penny's Garden Quilt

 Isn't this one pretty? Penny played with some border prints and fabric from Karen's Quilt Shop for this one.


Penny used a border fabric and cut it up to show off the pretty flower prints. I did some simple border quilting (below) and then played a bit in each picture.


If you look closely at the background, you can see the curved arcs in the busier backgrounds and a squiggly line in each of those borders. (I wonder how many times I can says "border" in a post???)


These two pics of the background show the quilting designs better than I can explain them!


Thanks for looking!!
Dory


Wednesday, December 2, 2020

Ginny's Chihuly Exhibit Quilt

 Ginny is super creative. She likes to take pictures and have them made into fabric at Spoonflower. From there, she turns them into stunning quilts. This one is no exception. She attended the Chihuly Exhibit in Seattle (pre Covid), took photos, and made this lovely quilt.


The goal with this quilt was to not interfere with the printed fabric, yet I had to quilt it somehow. I opted for simple linework in all the blocks. Some dot-to-dot ala Angela Walters and just some cross-hatching...without the "cross" part. (LOL)

When I got to the border, I originally did double piano keys. When I had finished the quilt and looked at it, I decided that was too plain. So around again I went, adding ribbon candy to each "key" for more interest. 


In the corners I did a mirror image dot-to-dot design.


Here are a couple more shots of the front.


I'm thinking my camera wasn't too good with the color of the backing, but at least the quilting shows up! 


This pic shows thread changes...had to be done to keep the quilting from being too obvious on the front. Makes the back look a little wonky though.


When things open up again and if you've never seen the Chihuly Exhibit, its well worth the visit. And after you visit, take the ferry across the Sound to the Olympic Peninsula. Stop in at the new quilt shop  in Sequim (A Stitch in Time Quilt Shoppe) and say hi.  

Dory


Wednesday, November 25, 2020

Clara's Zoo Quilt

 This quilt was so darn cute! I love the fabric and all the little critters on it.


I love the gate to the zoo on this fabric. Then there are pathways throughout that leads to the different exhibits. I decided to play a bit with that and "followed" the paths with my quilting.


Once at the different animals, I just followed the outlines to stitch around them to help them stand out.


You can see my quilting, if you can even call it that, on this one. It was challenging in some places to follow those lines and not quilt right over the top of a cute critter!


Here's a couple pics of the back...not much rhyme or reason to the quilting, but it was a fun quilt to work on!


Thanks for looking!

Dory

Wednesday, November 18, 2020

Marilyn's Sashiko Quilt

 This was my first time quilting a Sashiko quilt. My goal was to add to it without taking away from the fun Sashiko designs.


It was a fun challenge. On some blocks I followed the design already there; others, I played a bit. Here are a couple pics to show you what I mean. On this first one, I just did some cc's in the patchwork squares and did the same in the clamshells on the bottom left. The design on the top right was a bit trickier...I tried to follow the stitching in that random pattern. You can see it better if you click on the photo to enlarge it.


There were a couple of blocks like this in the quilt. Unfortunately, my photography leaves a lot to be desired. The pic is a bit blurry. I wanted to add some softness to the quilt, so I did a feather flower design.


I really liked the pieced back on this quilt. It totally complemented the top.


Just a couple more pics to show the quilting. 


Happy Quilting!

Dory

Sunday, September 6, 2020

Lori Quilts too!

Many moons ago when I worked in the DA's Office in Washoe County, Nevada, I had a friend named Lori. We caught up again on Facebook a couple of years ago and I found out that she'd taken up quilting as well. She started checking my blog and decided to have me quilt her son's wedding quilt. The new daughter-in-law picked the pattern and fabric and Lori got busy. This is what I received in the mail...isn't it gorgeous. The pattern is called Jewel Box.


This quilt offered so many options for quilting from super modern to traditional. After many messages back and forth, we opted for a combination. I love how it turned out--wait till you see all the pics!!

This first one sort of gives you an overview of the quilting. Some traditional continuous curve with loops in the four patches and the faux border created with quilted lines.


This one is a bet closer with a little more detail. The lighting is a bet better and shows the ribbon candy on the inner border.


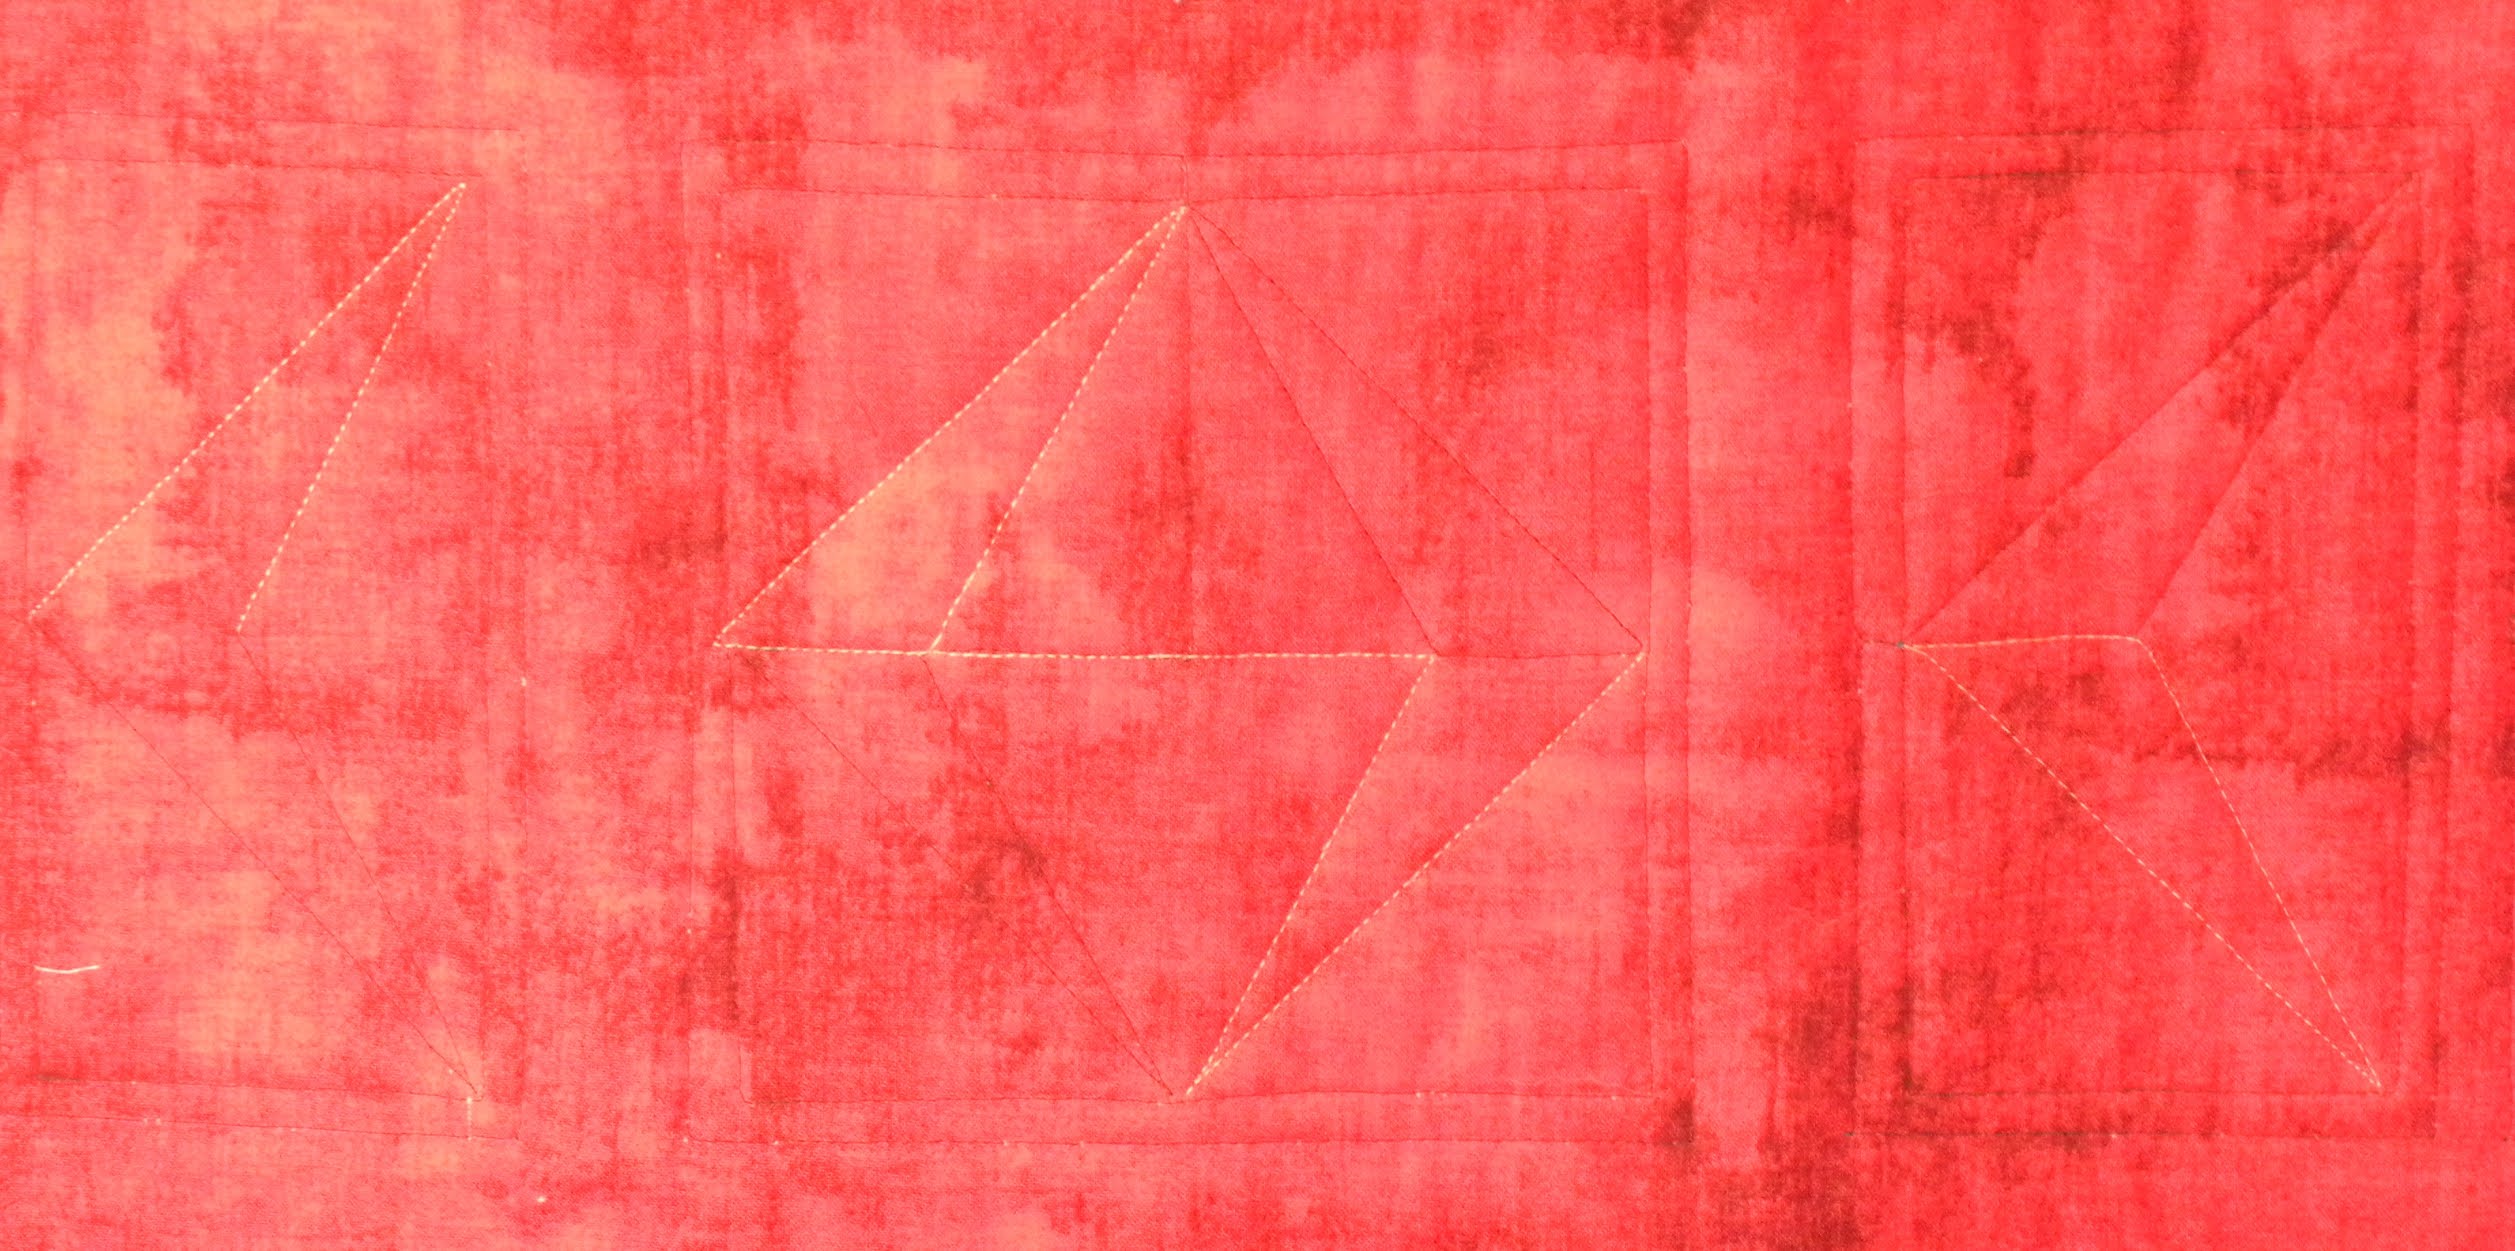
And closer still...you can see the "c's" around the larger four patch and the separation with the quilted line "frame."


This pic shows the detail of the border. I started out with piano keys, but it was just too plain. Adding the ribbon candy made it pop. (Gotta love Blogger...no matter what I do, this pic will not center! Its making me crazy!!)


Lori was determined that the quilting would show on the back, so she sent this very simple backing. The quilting showed up nicely, I think. Have a look...


Lori's son and daughter-in-law got the quilt this past weekend. She said they were very pleased. 

Thanks for looking!!!

Dory